Introduction – In this blog post I am going to be discussing creating a UV map and applying it to an object (in this example a cube). I will be demonstating single mapping (using one UV map) and ID mapping (uses more than one map). The software I am going to be carrying out the editing on is 3DS max and photopea (online photoshop alternative).
Sections
– Basic UV mapping
– What is single mapping
– ID mapping
Basic UV mapping?
Here I am using a software as mentioned called 3DS max, below im going to be demostrating how to use the modifers to uv map the cube. So later on when I am modelling more detailed models I do not have to explain as much.
What is single mapping?
Basic Uv mapping uses one UV map to map the whole object using one material for that object, so therefore in that map there will be multiple different textures in the one map. This is done by editing the map on a editing software like photoshop or photopea adding multiple textures into one canvas. This is when you are editing the UV map taken from the Map
In the scene so far I have created a cube that I have converted to an editable poly so I can start to map the cube.
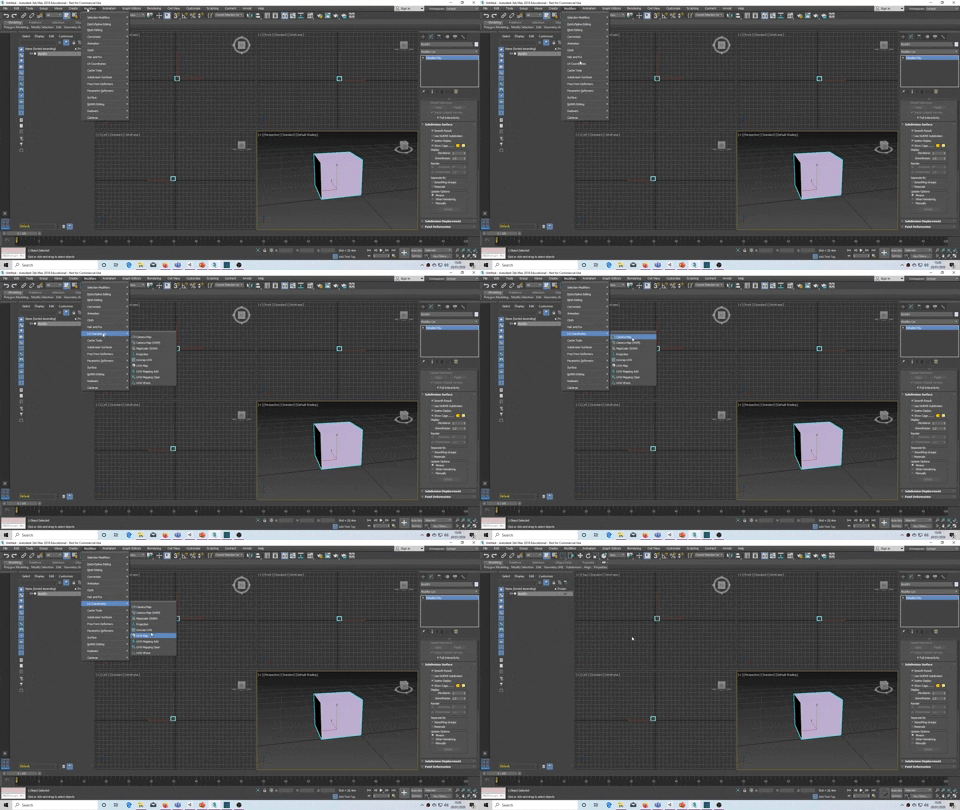
Next I am using the modifier UVW Map to select the right parameters
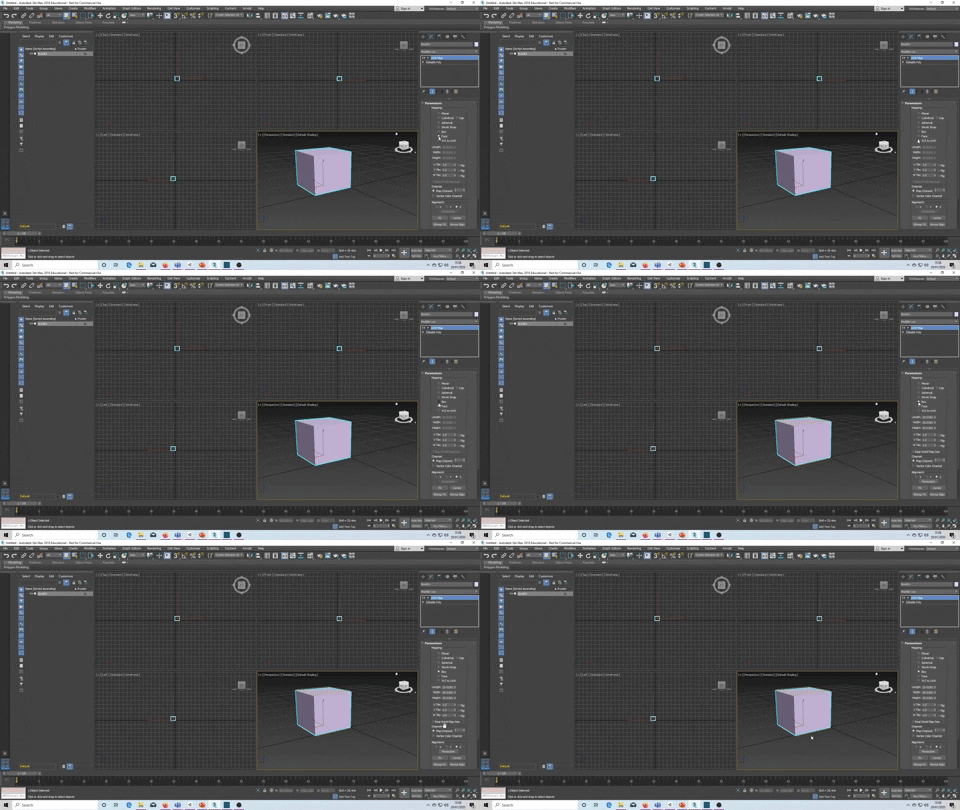
Then I changed the parameters to box from the list above because it best suits the map im trying to fit
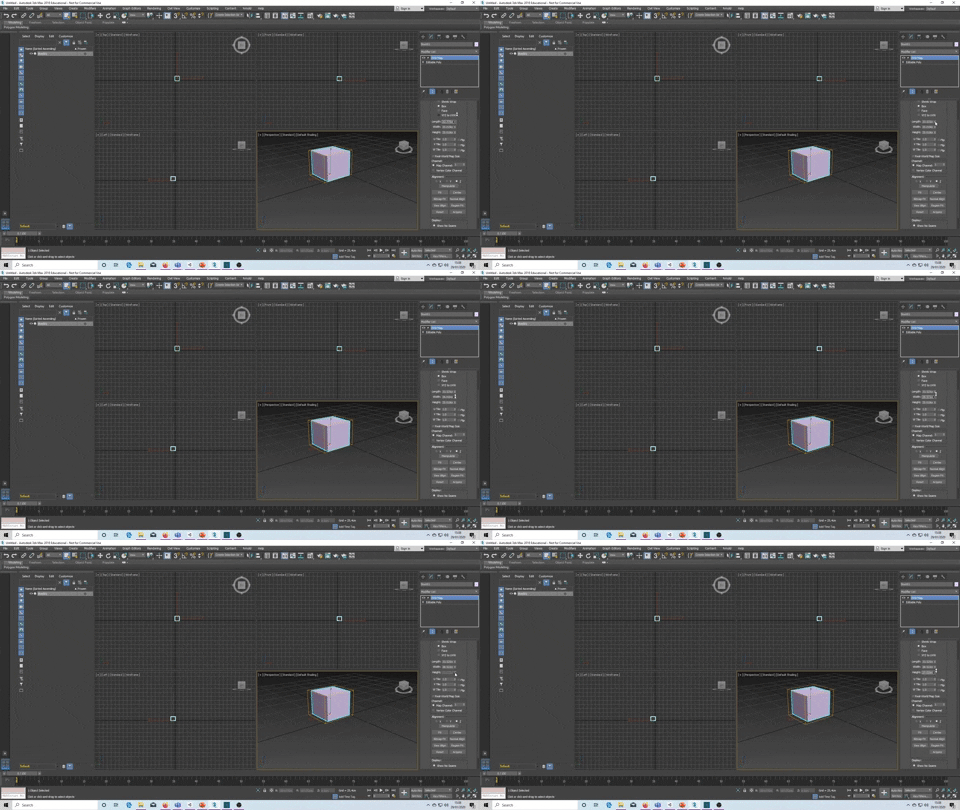
Here I am just adjusting the parameters so the object fits inside the UV because if it wasnt that part of the object wouldnt be mapped.

Now I’m going to use the next modifier up above from UVW map and use Unwrap UV map. Unwrap UV map unwraps the skin of the object inside the parameters of the UMV map.
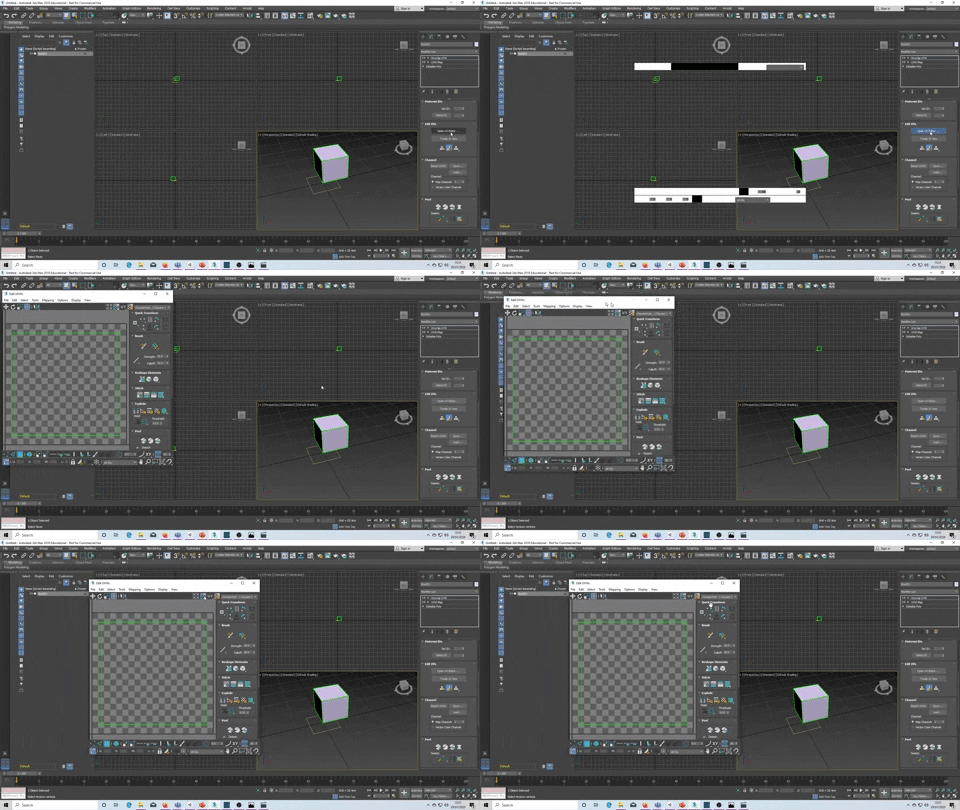
Next I am opening up the editor and this will bring me onto a screen I can better manipulate skin/mesh of the object
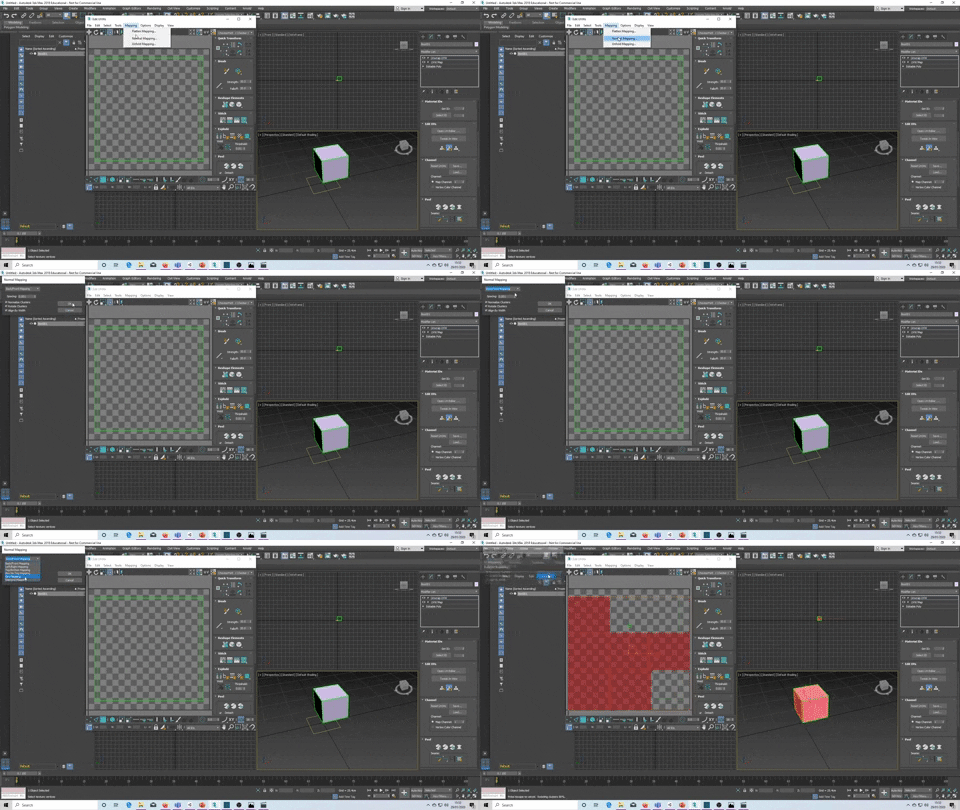
Here I am selected box mapping for the object, because I am mapping an object in one and the shape object fits what Im doing.
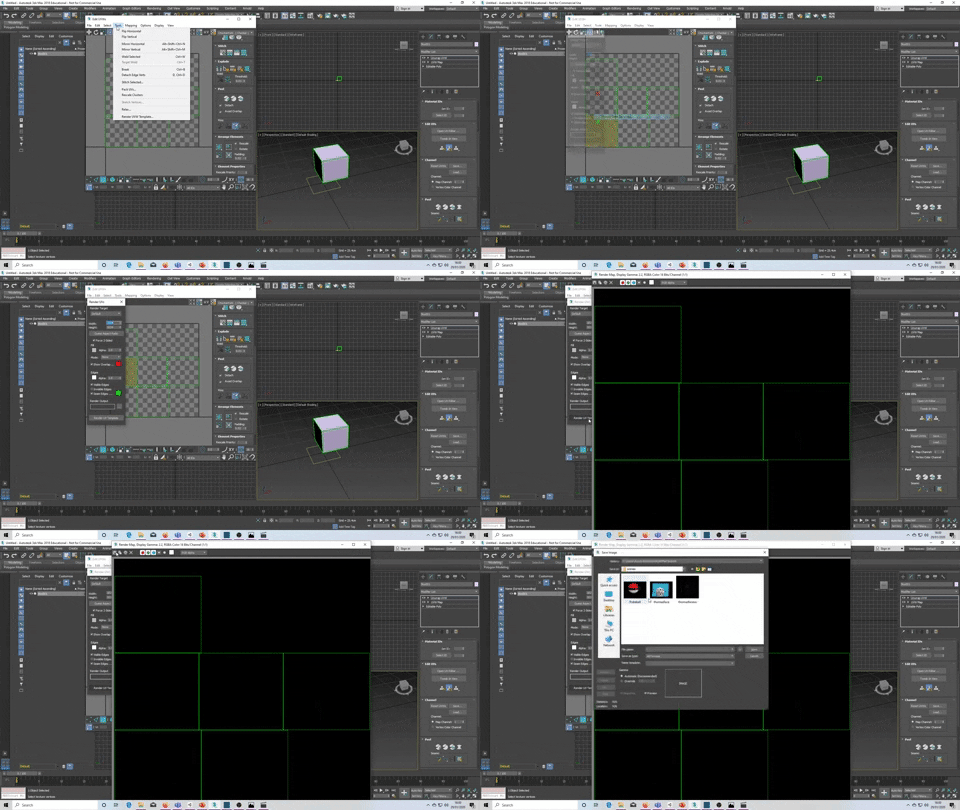
Render and save the UV map as jpeg so it can be edited by photopea

Now that we have saved the file, I need to edit now and apply a texture.


I decided to randomly select this image and I am going to use this as my texture to give it a nice metal box effect. I wouldnt be able to use this texture because I don’t know if its free.

Now I have opened the UV map jpeg I saved of the cube on to photopea. Next, I’m going to open up the metal texture in another tab and resize that texture smaller, copy and paste in my UV map tab onto a different layer

I am going to further resize the material and place that material over the faces of the cubes.


After I copy and pasted the metal texture over each face careful looking at the template not to cross over the lines because if you do the texture will look wrongly unpositioned.
Below I wanted to demonstrate using one map with using different textures by changing the colour of some of the faces to the cube. This is how you would have to change a map for a model if you was using a map.

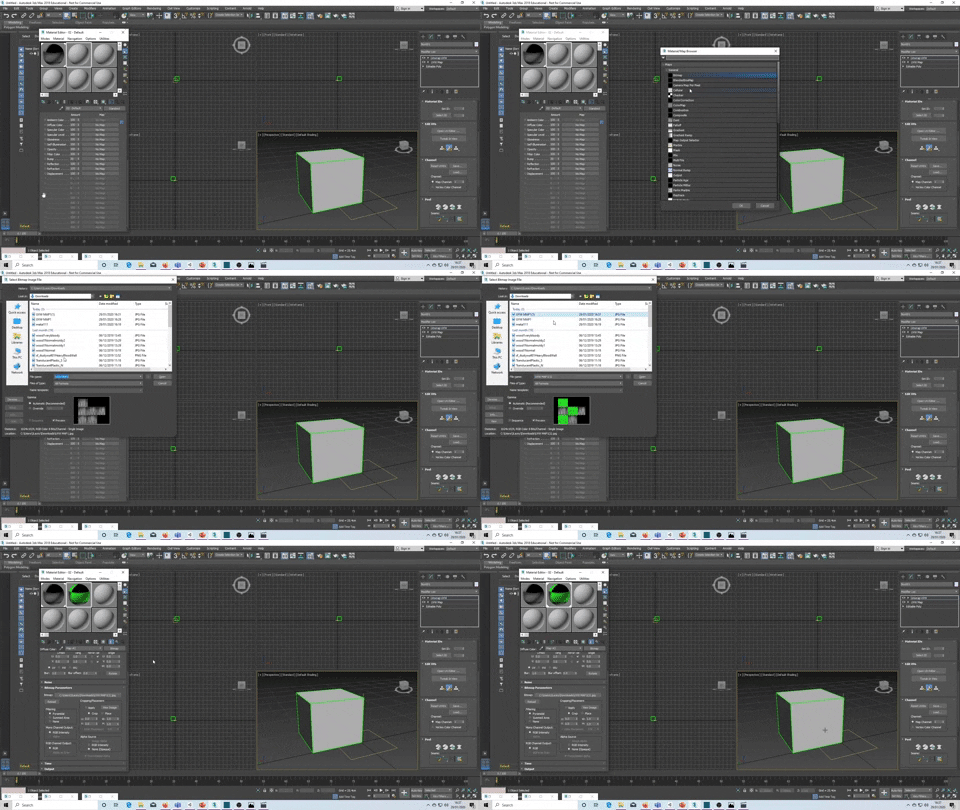
Now I’m going to save that and export it out of photopea and open then up in 3DS max. I then use the material editor tool to open up Maps>Diffuse colour>Bitmap and select the edited UV Jpeg I have just exported from photopea.

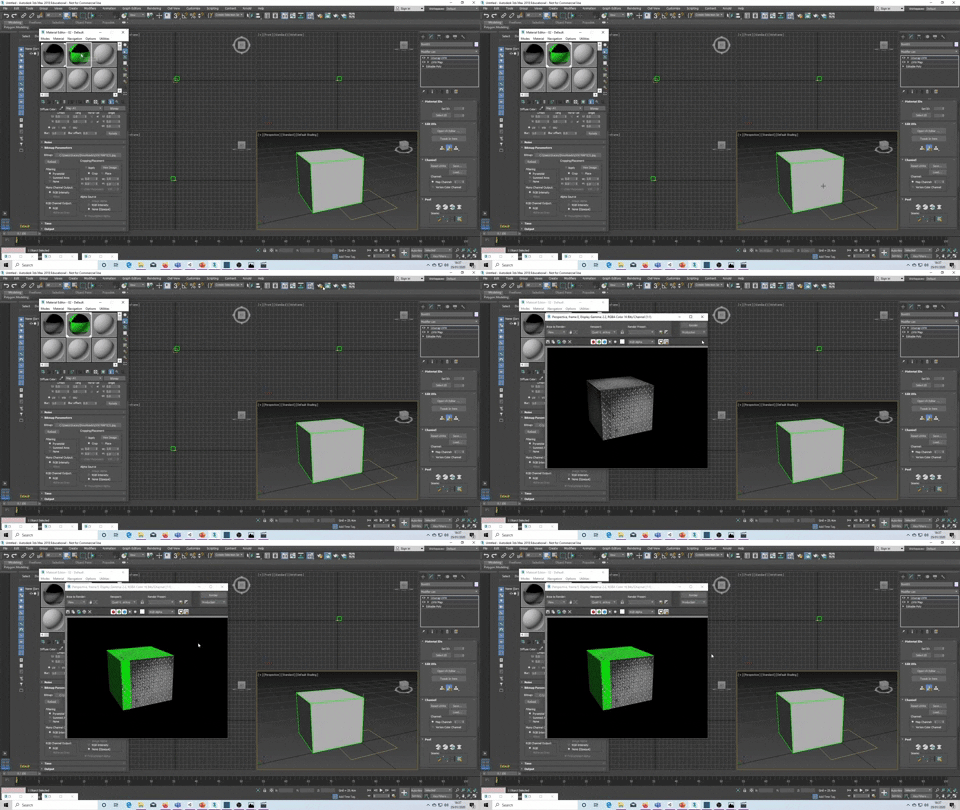
Now I can use the rendered frame window tool to check the outcome of the UV map that I have created. This is how it should look like if it is exported into a game.

Below is a demostation of me changing the diffuse colour map to a the other uv map that I made with the faces changed to check the accuracy of the model and to futher show how to normal map using one map.
Here I am showing the different rendered frame window of the diffuse map I just added to onto material to which then I applied to my object.
Pros and cons of simple mapping?
Pros
– Easy for mapping simple objects
– Well coordinated maps are proffecient being one file not multiple
– Simple at games at telelvision
Cons
– If the UV map is changed on the model then the map will have to be redone
– Its a longer process for editing and getting the right coordination and placement of the map onto the model if you make a mistake
– Is alot harder to use for more complex models
– Unity will only recognise the map as one material so any further changes to specfic areas of the model cant be done
Material ID Mapping?
Material ID mapping is personally something that I prefer to use because it easier to seperate different sections of model. This tool assigns each face into different ID’s which is also recognised when imported into unity.
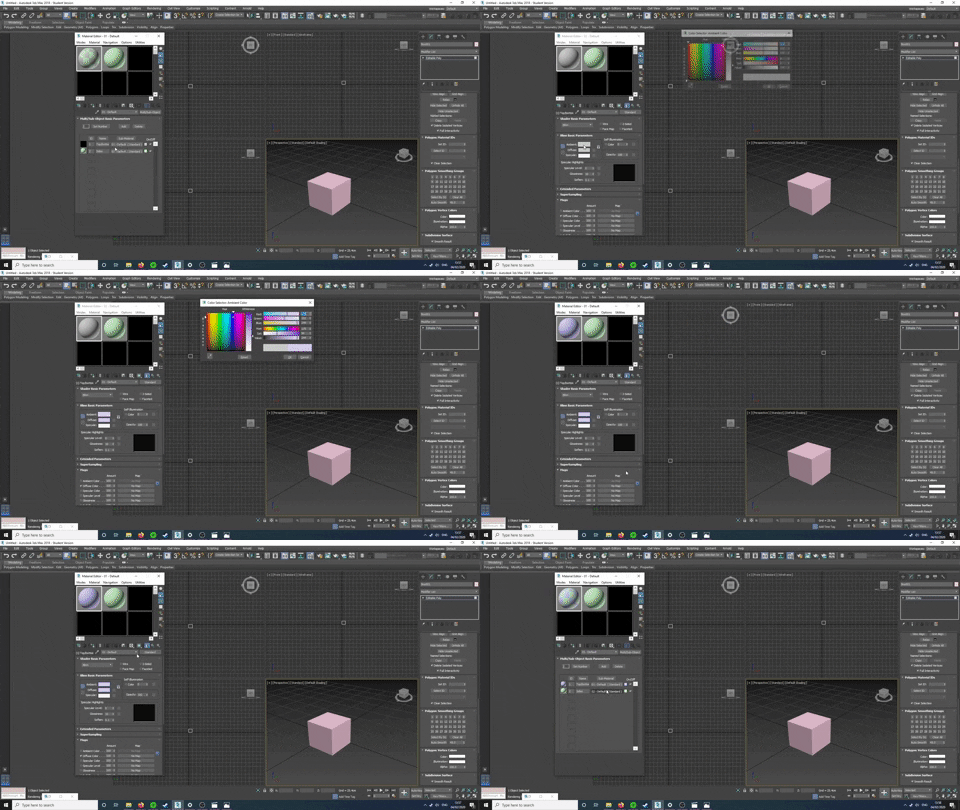
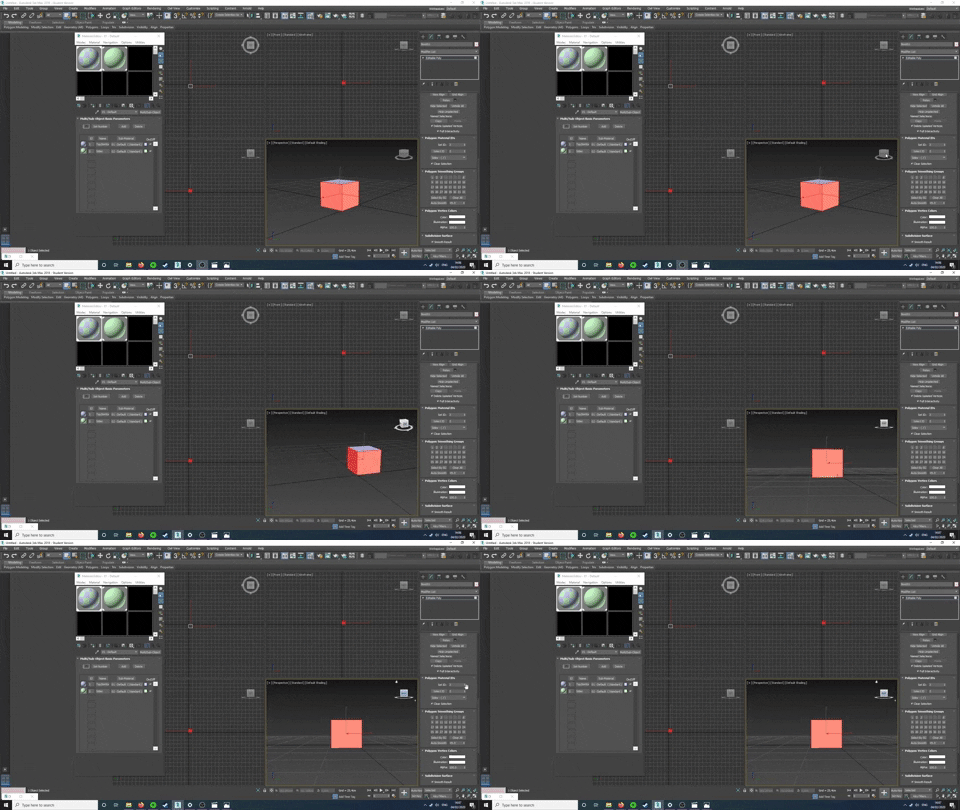
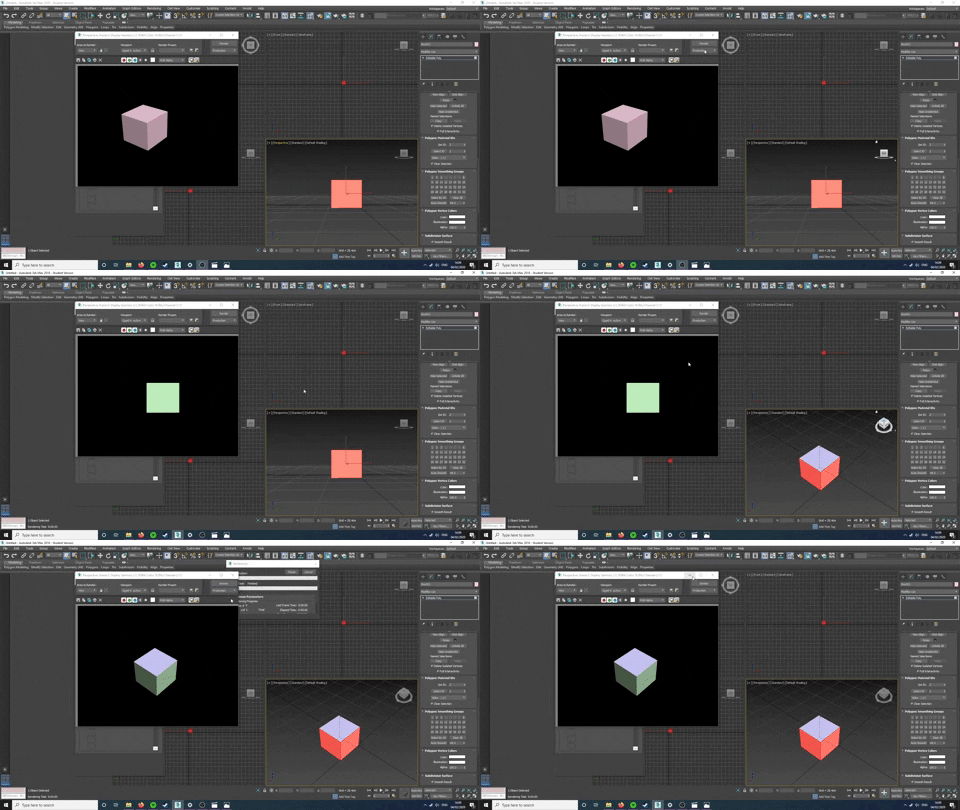
Below I am going to demonstrate how Material ID mapping is done so I do not have to explain it later on. In this example I am not going to uv map each individual ID, I’m just going to use block colours for the example even though it can be done.
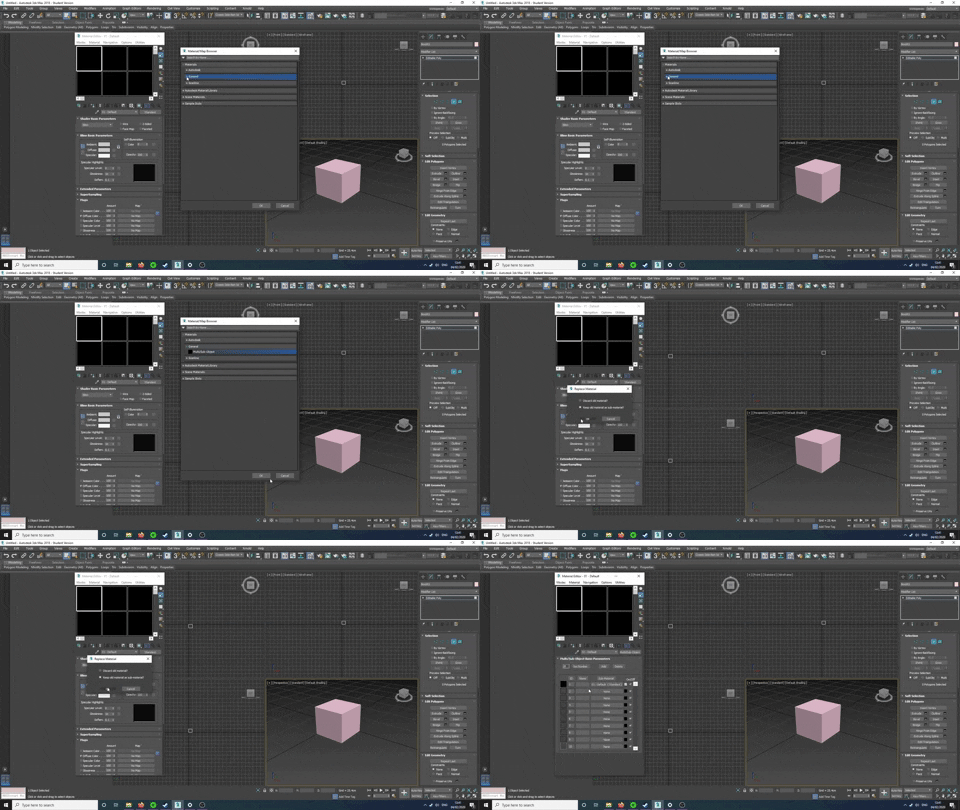
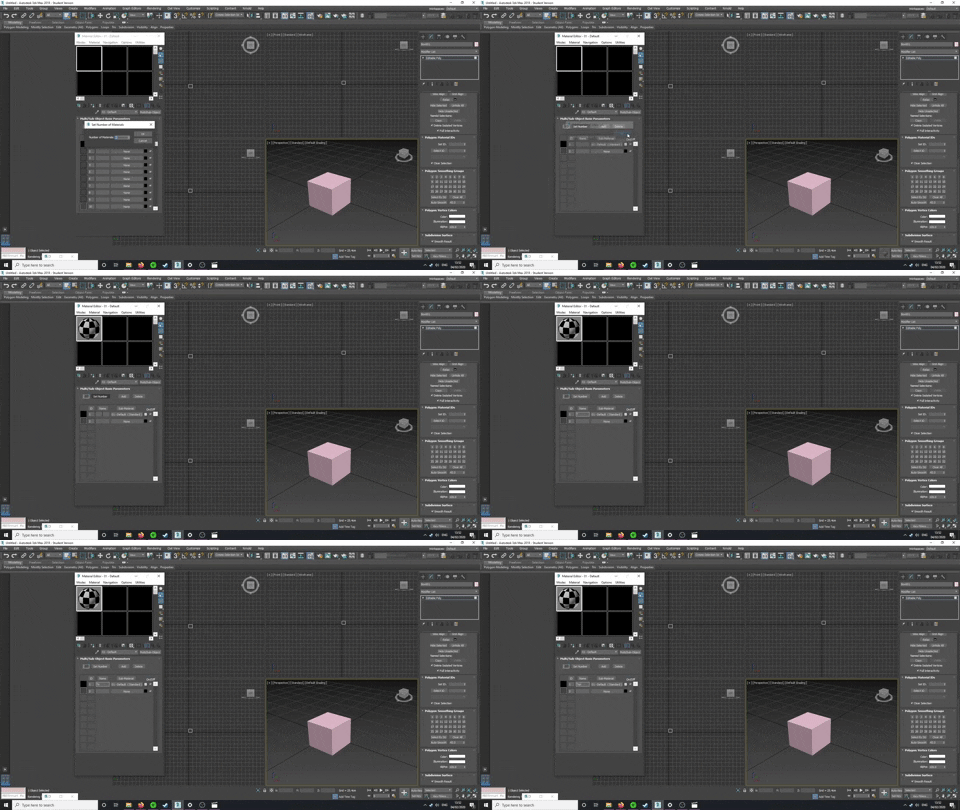
Two materials for top and bottom of the cube
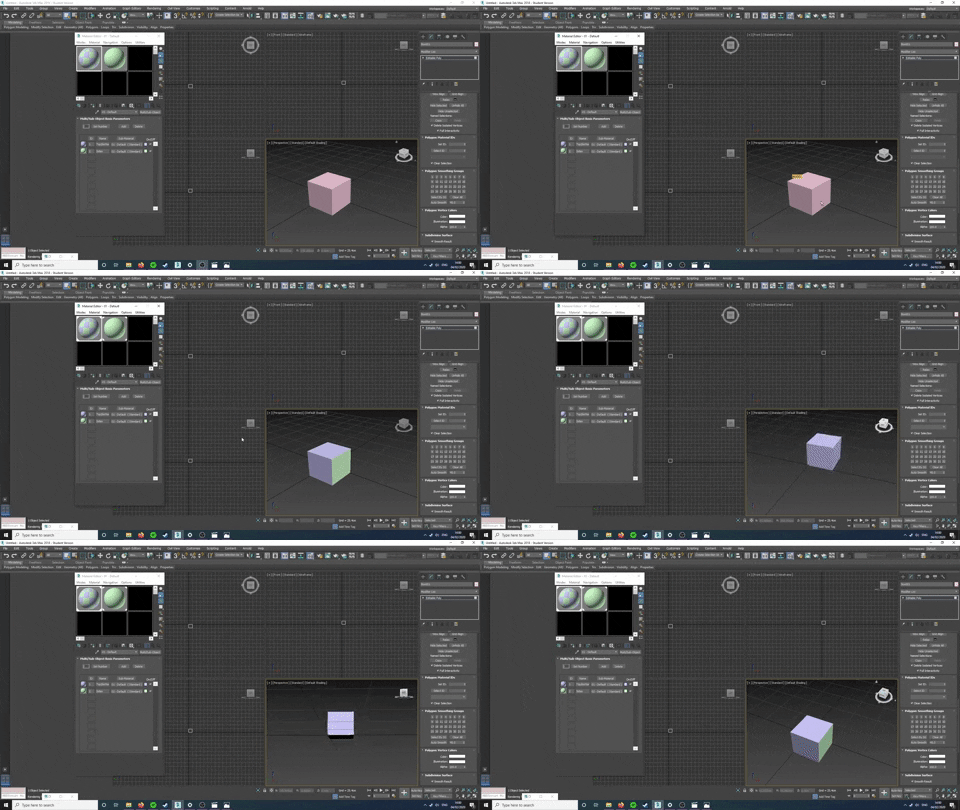
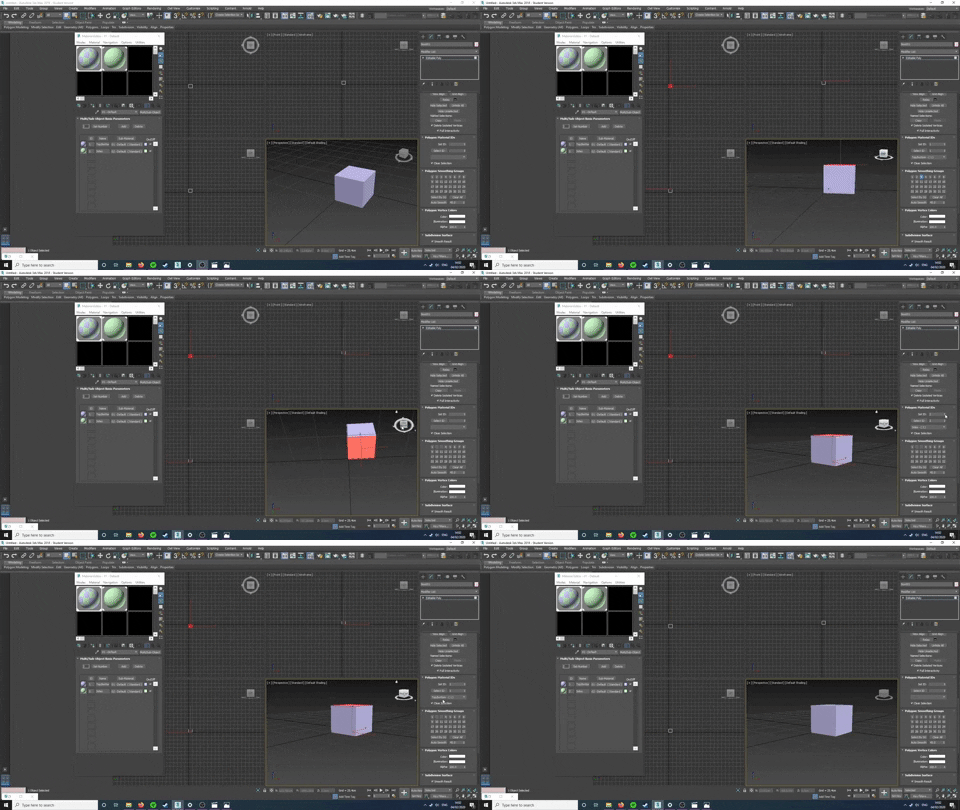
Here Im selecting 1 for the top and bottom material
Pros and cons of Material ID mapping?
Pro’s
– Easier to break down a model when mapping the object
– Can make multiple different textures that can be manipulated easier because they are seperated
– When exported the different materials will be recongised by unity so you can make further edits if something doesnt work
Cons
– Uses more files than single mapping
– Not needed for simple mapping objects
Thank you for reading,
King Regards,
James Lacey
Citation
https://spmtoolbox.files.wordpress.com/2016/06/metal.jpg?w=1024&h=666&crop=1

Leave a comment